1
How To Create a Quality Badge?
How To Create a Quality Badge?
Lisätiedot
Now you know essentials what an Open badge is and what it can be useful for. Watch this video to learn how to create a good Open Badge.
Open digital badges capture essential information about learning and achievements by storing this metadata inside the badge image.
If made public, this information can be accessed and viewed by anyone. Pay special attention to two fields in information about the badge – the description and criteria for earning the badge.
A badge description tells the badge viewer about this badge's specific learning and achievement.
When preparing a badge description, you may include the following details:
- Context of the achievement. Where and when did specific learning happen? What new knowledge, skills or change has happened as a result of learning? What kind of specific achievement was reached?
- Tasks completed. What did the badge earner complete to qualify for this badge? What roles or activities did the badge earner undertake? What evidence did the badge earner submit to claim this achievement?
- Assessment procedures.Which assessment procedures were in place to verify the badge evidence? Who was involved and how was the assessment carried out?
- Unlocking new opportunities. What new opportunities does this badge lead to? Mention all the valuable things that this badge unlocks.
- Links to a wider framework.Though this information can be included as a separate data field in the badge, it does not hurt to mention if this badge shows any skills that are part of a larger competence framework or education standard or connects with a specific level of education (see ans example of hoe to align badges with the DigiComp 2.1 framework). When you add this information it will be easier to assess prior learning in relation to the relevant EQF level.
- Time spent to achieve the badge. This information is important because it gives information about how long has been ‘worked’ to achieve this badge. If a person worked 3 hours or 6 months to achieve the badge, that makes a difference.
Tips and Hints for badge descriptions
Here are a few Tips to consider when defining a style of the badge description:
- Badges will be viewed by diverse audiences: badge earners, future employers, formal education staff and so on. Is a certain style of writing acceptable for the context where the badge will be used or viewed?
- Playful badge descriptions can motivate learners, but may be taken less seriously in more formal contexts. It is good to test badge samples with targeted audiences. The style also depends on who verifies the badge achievement and the evidence.
- A badge description can be written in first person style if the badge achievement and evidence are self-approved by a badge earner. Where badges are issued by staff, the third person’s perspective can be used to describe the earner’s achievements.
- Since badges will be displayed on the web, it is good to have a badge description that tells just enough information to understand the achievement and its context.
- Badge metadata is machine-readable. This means that badge information may be discovered by search algorithms and filtered accordingly. Be aware of some keywords that potentially help find a badge easier.
How to describe Badge criteria?
Along with the badge description, this is perhaps the second thing that the badge viewer will look at. Criteria should be very clear for both the badge earner and any external badge viewer.
- Criteria should set specific objectives for the badge earner – what needs to be done and what needs to be achieved. It should describe what evidence should be provided: text, image or any other type of file.
- Assessment flow. It should clearly set out how it will be assessed: by the earner, by peers or by the educator or programme manager.
- Try to create criteria that are not too complex. Instead, split a complex badge into more easier-to-achieve badges.
- Some badges may not require uploading evidence, but they may require earning other badges before this particular one. Mention it in the criteria.
Please find a few examples of quality descriptions of the badge. These badges are created to recognise the learning of international volunteers in the foreign country.
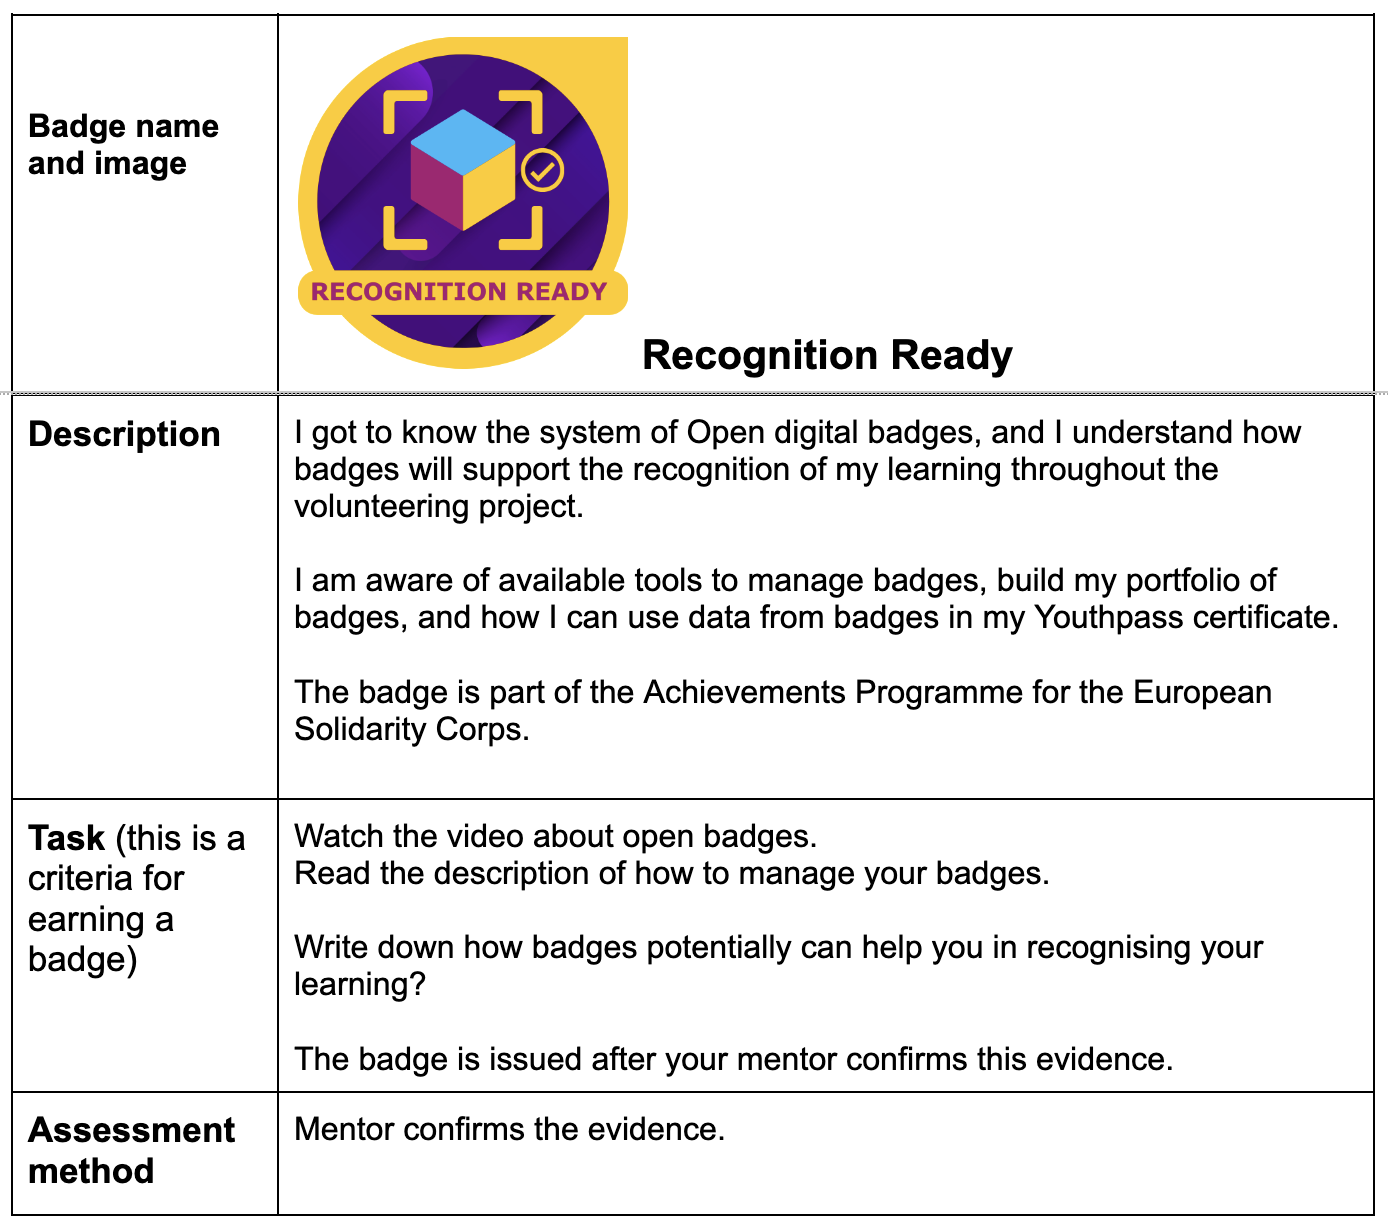
In this example, you can see that the authors of the badge system chose to use a first-person style badge description. This was done intentionally because when a volunteer shares own badge, the message comes from the badge owner's perspective.
You will learn about various types of badges in the following activities. This badge serves as an onboarding badge. Meaning it aims to motivate badge earners to become interested and aware of what Open badges are before a person dives deeper into the entire Achievement Programme.
You can see that a badge is rather simple in terms of achievement - there is just one task and a badge is earned by completing this task and getting evidence approved by the mentor.
You can add specific skills from your chosen competence framework when setting up your badge on the Cities of Learning platform. In this way, you will link a badge to the larger context of competence development.

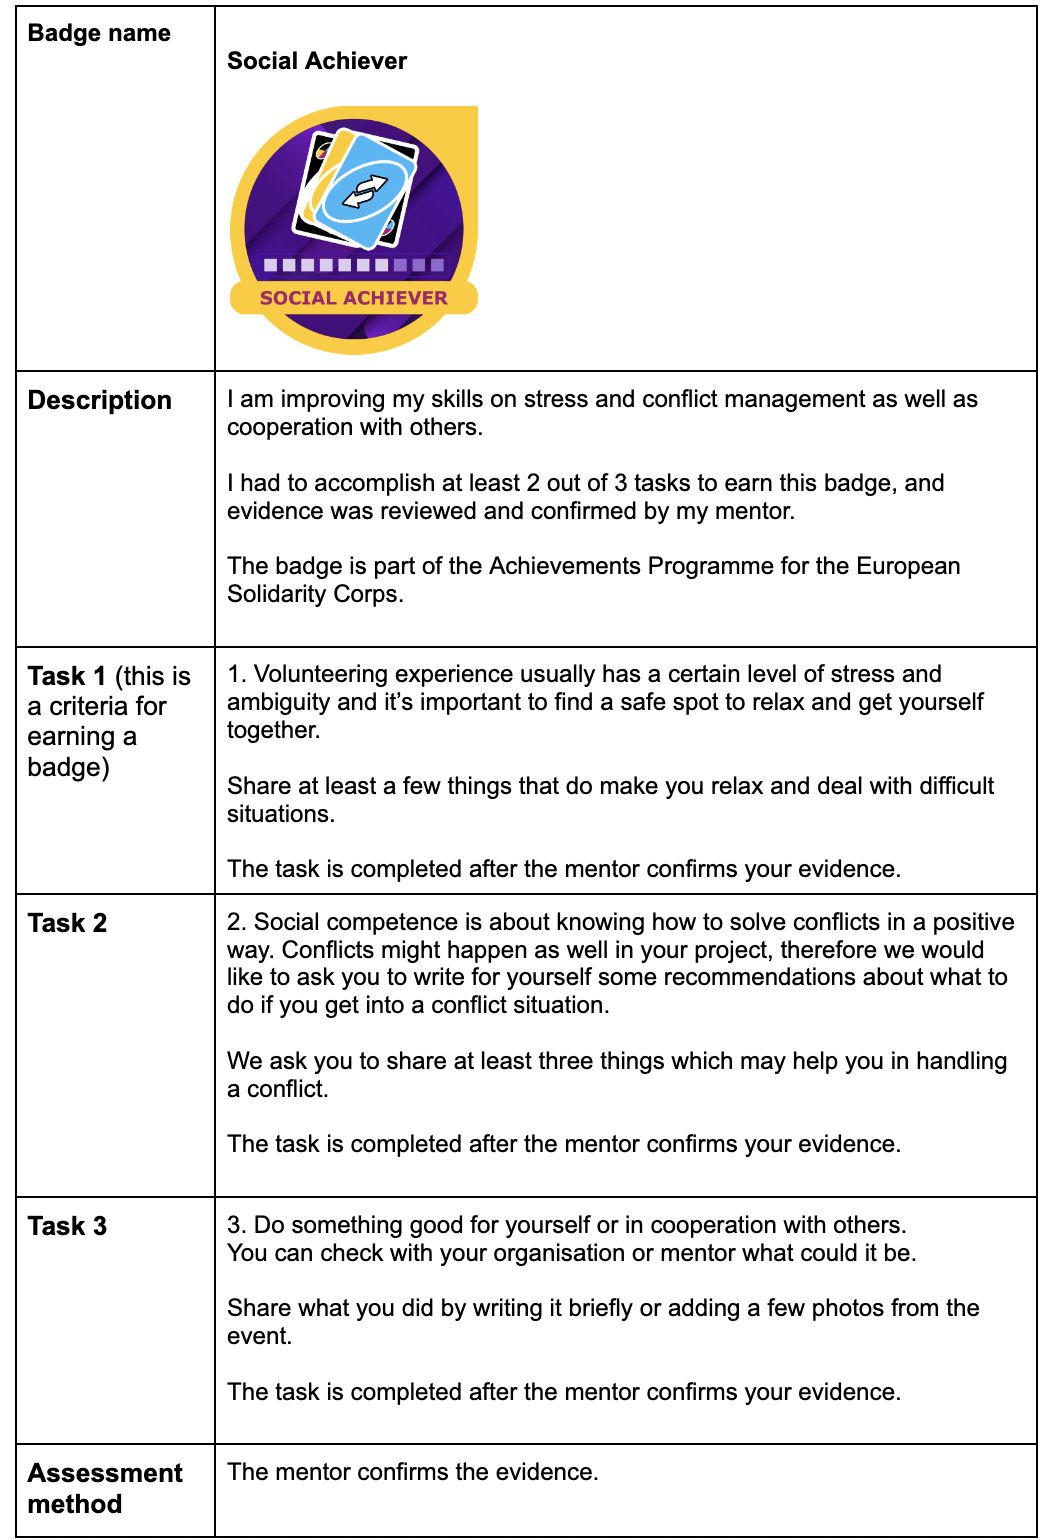
Here is another example of the badge, but this one is much more complex - a person can earn this badge only at least 2 out 3 tasks are complete and evidence approved by the mentor.
This badge is linked to one of the Key competences for Life-long learning - Personal and social competence.

Badge Types
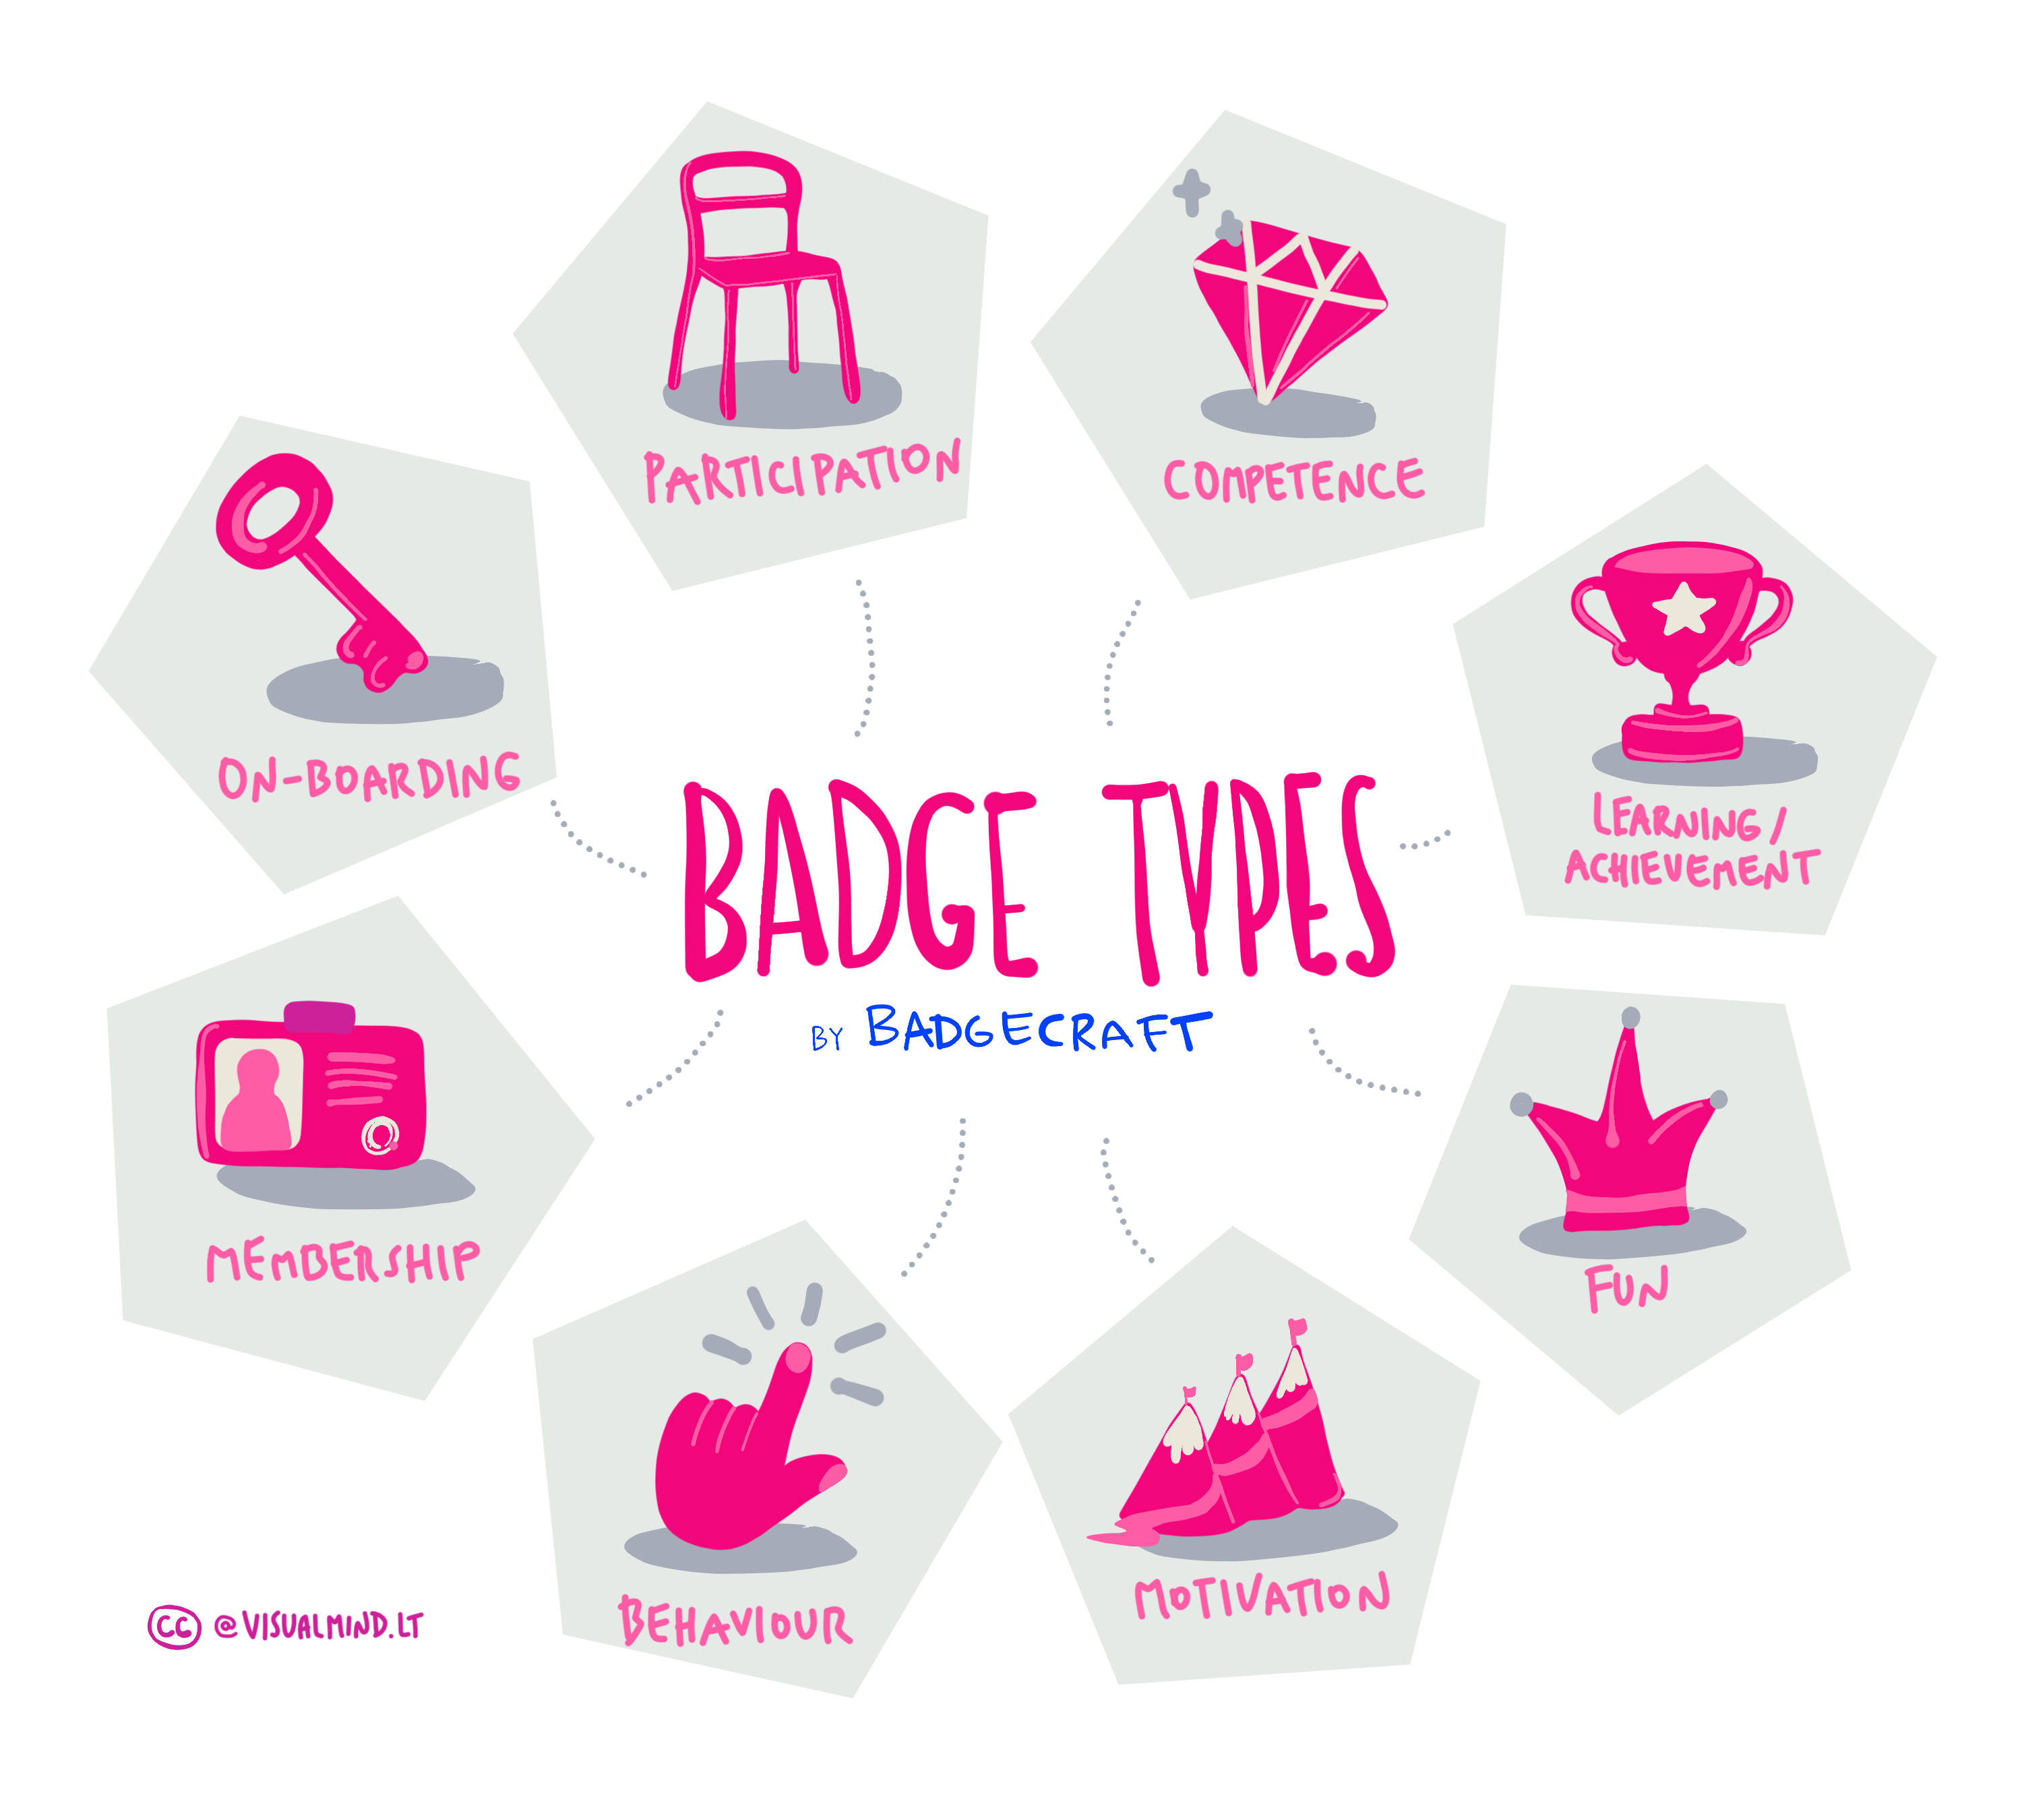
You can have badges for various reasons and usually, we divide badges into several types. Technologically badges do not differ and follow the same standard. However, when designing a badge system it is good to sort badges into different types and be aware of what you are trying to achieve with each badge.

- On-boarding badge can be issued for people learning about badges and finding out how badges will be used in the specific project or event.
- Participation badge recognise or motivate active participation
- Competence badge is often more complex and may consist of 'smaller' badges recognising knowledge, skills or attitudes.
- Learning/achievement badge is issued to recognise specific learning achievement.
- Fun badges are often the most popular as everyone want to have fun and having seriously funny learning process gives extra energy and joy.
- Motivation badges might not be recognising the final achievements, but it could be be badges leading people along the way and recognising their efforts, persistence and motivating people to keep on going.
- Behaviour badges can be dedicated for recognising specific behaviour that you expect or promote.
- Membership badges can symbolise belonging to a specific group, organisation, class, process.
When exploring examples of badge systems you will noticed that many badge systems would contain several types of badges. The system would start with a few on-boarding badges, then continue with some badges for motivation and participation and then more badges for learning and achievements. When designing a system of badges, you can mark for yourself what kind of badge it is and what you are aiming to achieve.
Assessment of badge evidence and ways to issue a badge
You can decide among several ways to issue a badge. Identify which way is best for you relating to the objectives of your activity and a badge.
- Issue a badge by scanning a QR code. This is the method of issuing is generated automatically by the platform (by default). This method is suitable especially for in-person events, when participants physically come to the activity and organisers can decide when to issue a badge. By using this method, learners will not add any other evidence to the badge. The badge itself will be evidence of participation.
- Issue a badge by email. This method suits well if people can not scan the QR code on the spot or if they participated in an online activity and organiser has emails of learners.
- Set-up tasks to earn a badge. In many cases it makes sense that a badge is not issued, but earned by the learner upon completion of certain tasks. Badge issuer can define one or more tasks for each badge and require a learner to upload evidence - any kind of file: text based reflection; an image; a link, etc.
Organiser can set up assessment in three different ways:
- Self-assessment. Evidence is self-approved upon the upload. This is a good method if you base your learning process on trust, assessment and self-reflection. Not all learning should be assessed by external people.
- Peer-assessment. You can set up a number of peers from the same activity who need to approve the evidence. Only then, a badge is issued. This method is relevant when activity involves several people in accomplishing some tasks together.
- External assessment. This method is suitable if activity organisers are willing to see the evidence and have the power to review and approve it. This is the most top-down approach and suitable for more rigid educational programmes.

Funded by the European Union. Views and opinions expressed are however those of the author(s) only and do not necessarily reflect those of the European Commission. European Commission can not be held responsible for them.
Materiaali
- Download a Word version of a worksheet to create quality Open Badge(s)
- Download a PDF version of a worksheet to create quality Open Badge(s)
- Scarica il modello da compilare per descrivere i tuoi badge in italiano (Word)
- Scarica il modello da compilare per descrivere i tuoi badge in italiano (pdf)
- Scarica la checklist per valutare la qualità dei tuoi badge in italiano (Word)
- Scarica la checklist per valutare la qualità dei tuoi badge in italiano (pdf)
- Ženkliuko kokybės pasitikrinimo sąrašas_Lietuviškai (word)
- Ženkliuko kokybės pasitikrinimo sąrašas_Lietuviškai (PDF)
- Ženkliuko aprašymo šablonas
Hanki aktiviteetti-merkki
Quality Badge Creator Hanki tämä merkki
This badge shows my skill to create a quality badge description with meaningful tasks and assessment flow.
To earn this badge, I had to provide 1) one badge description by following a template, 2) badge quality checklist, and take into account recommendations for quality badge description.
This badge is issued as a part of the online course leading to the achievement of the Badge Quality Label.
Tehtävät
Tehtävä nro.1
Vastauksen vahvistanut: Yksi aktiviteetin järjestäjä
Describe your Open Badge(s) and confirm that you included the quality data in the badge description. Use the boxes in the document to add answers to the checklist questions. This will allow you to develop skills in analysing your badge description skills and whether you included all the needed data.
!Download the file to fill it in!
Please upload a completed version of the badge description template.
Järjestäjät
Cities of Learning Network
Badge issuer recognized with
Vaihda toiseen kieleen:

